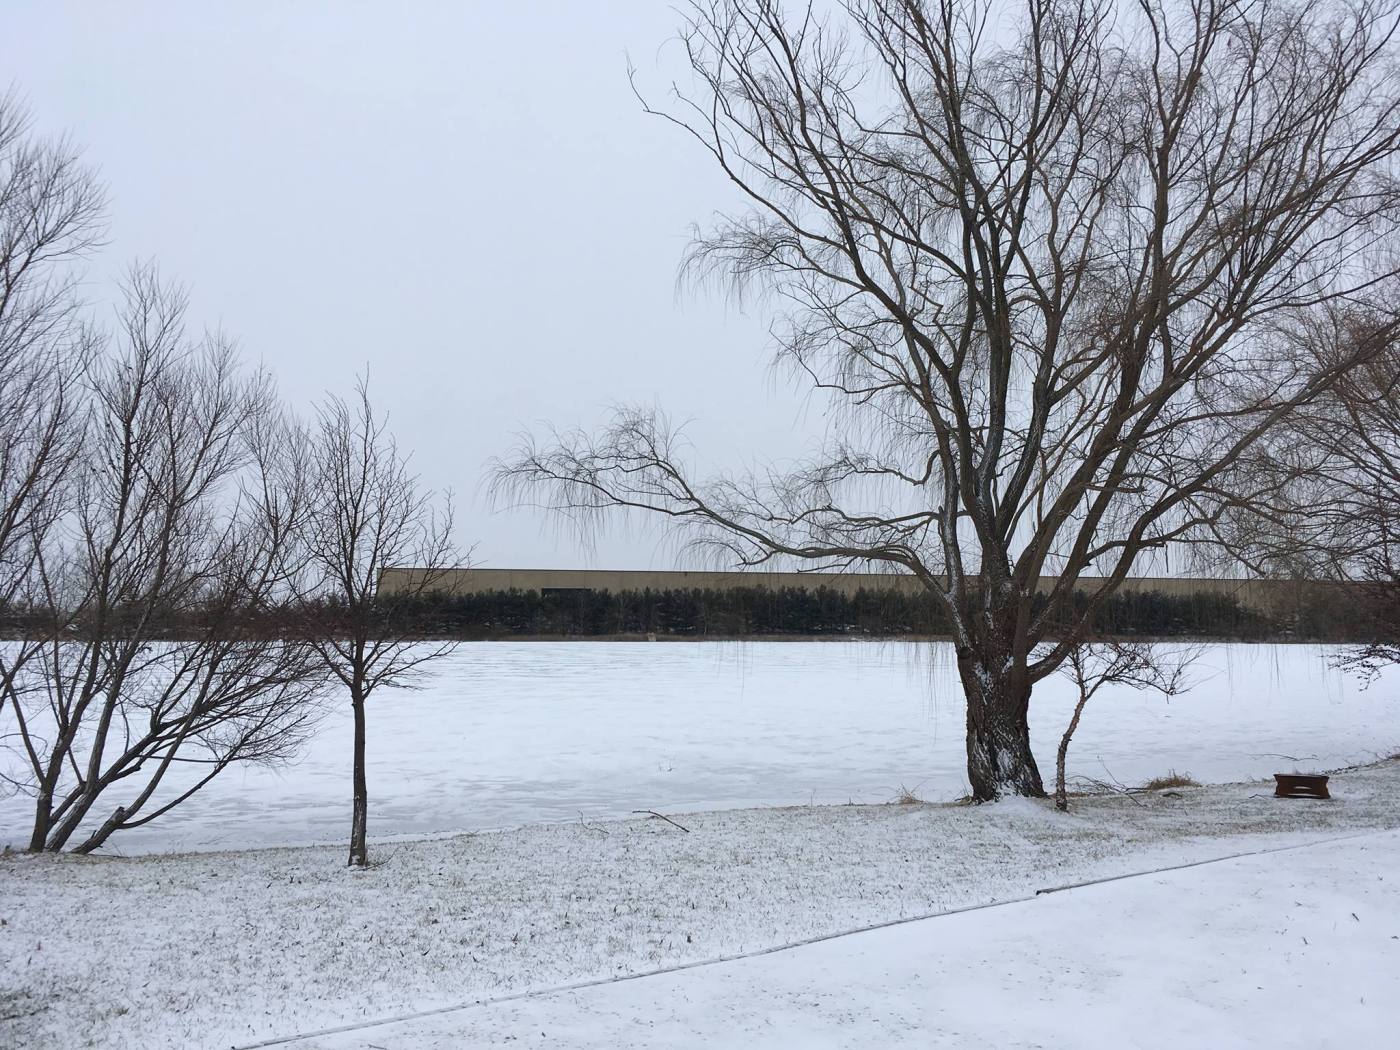
Living in a camper full-time is an adventure in and of itself. From its furniture and amenities to its mobile design, the travel trailer was built to make outdoor excursions more home-like and accessible. The current features available in newer models have further increased its versatility, and what was once just a summer RV experience has broadened to include most, if not all seasons.
Not all campers are made for winter, though. For the brave people who live in their RV’s during the winter, particularly in the colder regions, this style of housing requires a few modifications to keep it functional.
A few of the newer and more expensive camper models do come with some pretty impressive winter packages, but more often than not, these are not the campers hanging out in the all-year campgrounds. They are either older models, like ours, which were made sturdy and hardy without skimping on materials, or newer models which may have a small winter package but really are not meant for single digit temperatures.
In any case, a certain amount of preparation and problem solving is necessary to survive below freezing weather in a travel trailer, but it CAN be done. Also, the exact solution that worked for one, may not work for another due to the variety of model designs. Take it from us. We finally figured out the best way to winterize our camper during our first winter, but we are now getting into the full swing of our second winter and have a very different camper. We are troubleshooting all over again.
SMALL BEGINNINGS
Our first camper was a 2002 Fleetwood Pioneer, 24’ long (28’ with the hitch), and no slide-outs. It was our first home. Paid in full, it was our house…on wheels. We probably had a grand total of 180 sq. ft. of living space in that thing, but we made it work!
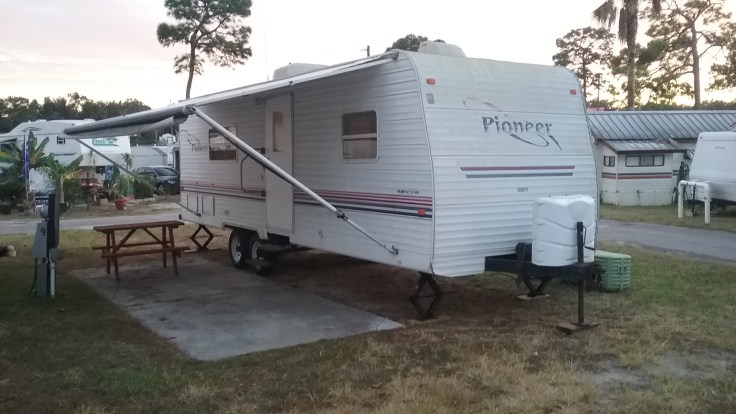
We purchased the rolling beauty a couple months after we got married and Britt was working on a job in Florida. A few weeks later, the job halted suddenly, and we prepared to find a new one. Britt put his name on multiple books, and we waited, knowing full well that we could end up in any of the northeastern states where he had signed.
Now, I will point out that we were in Florida in December. We were not set up for colder weather just yet because hey, it was sunny and warm in Florida! So as new camper owners, we researched like crazy how to stay warm in a trailer built for summer vacationing. We needed our camper to stay warm and fully functional even in freezing temperatures.
As it turned out, we were right. The next job took us to Indiana just as winter and the New Year were getting started. Temperatures ranged from single digits at night to low thirties during the day, and the locals informed us that that year was only mildly cold compared to their usual sub-zero temperatures. This was hardly consolation, though. Even with the positive feedback on the weather, we had a difficult time managing.
INDOOR STRUGGLES
First, our furnace was less than effective. It ran and ran, but the air just never got warm. We couldn’t figure out why, so we used a couple of space heaters instead that heated our millennial mansion rather well.
The second complication we encountered was frozen water. For about a week, we were without running water, using bottled water for drinking and cooking and going to the local gas station to use their restrooms.
We tried a few different tactics to unfreeze our lines, with little success. We opened the floor cabinets to expose the water lines and heated them with our space heaters. We insulated the exterior water connections. And we waited. We waited for the weather to get above freezing.
Finally, we struck gold. That is, gold in the form of water, which is far more useful. I don’t know who it was, but whoever designed this camper model did a poor job. They certainly weren’t thinking about cold air, hot air, or insects entering the camper.
I discovered the design flaw while Britt was still at work during that first week. I was investigating a strong draft coming through the furnace grate and had taken it off to look inside. Just across from where I was looking in, there was a hole about the size of a tennis ball in the wall, and through it ran the power cord for the camper. The camper was MADE with that hole there. It had a plastic fitting and everything.
No wonder our furnace wasn’t heating the air! It was sucking in the below-freezing air from outside and could barely get it lukewarm. But the best part was that I had found the reason for our frozen water: the water lines ran right below that hole in the wall. They never stood a chance.
Well, since Britt was still at work, I decided to innovate a solution on my own. After all, why should I wait? I grabbed some reflective bubble wrap, cut a square a little bigger than the open hole, cut a slit to fit around the power cord, and taped it into place. No more freezing air was going to be coming into my home! I blasted warm air inside the cabinets again, and in no time, the water was thawed and we had running water from that point on. Hallelujah.
OUTDOOR STRUGGLES
USEFUL FACT: Skirting for a camper is usually made out of some form of insulating material, such as reflective bubble wrap, foam boards, or vinyl, to keep cold air from whipping under the camper and stealing additional heat from the floors. The skirt forms a giant pocket of still air which is excellent for hindering the flow of heat.
Our third and last major problem of that winter involved our skirting. We already had foam boards cut out to fit our camper, and the only thing left to do was tape them to the lower sides. However, when Britt pulled out the heavy duty duct tape to attach the two, the tape was not sticky. It was useless, rubbery paper. Apparently, most tapes lose their stickiness in freezing weather, so we had to find another way. Plan B found us bringing out the blow torch to heat the tape until it stuck.
This technique would have been simple enough despite the cold; however, Indiana is very flat and home to several wind farms–not without reason. We later dubbed the maze-making state Windiana because of the constant wind that regularly glazed the landscape at 15-20 mph. The wind kept blowing out the blow torch, making for a very long and frustrating task. Fortunately, and after several evenings of working on it, he finally got it done. Once it was up, we didn’t dare take that thing down until spring.
Update: NOW WE KNOW! Use aluminum duct tape (not the Duck tape brand though). It will stick right away, and holds really well!
LESSONS
The satisfaction of knowing that we know the ins and outs of our own camper is priceless. Sometimes the path to get there is ridiculous and so not fun, but it’s well worth it. Tuck that experience in and call it a day!
In June of 2017, we had to say goodbye to that trailer and get a newer, better one. Thus, we began getting to know our current camper. It is bigger, a little nicer, and better designed, but we have still found it to have its own peculiarities. Even so, we have been better prepared for our second winter, thanks to the first, and we feel confident that with a little ingenuity and gumption, we can survive any weather that we may encounter.

Leave a comment